• Select your computer name, in my case ”WIN10PRO”
1.2 Configure virtual switches
2.2 Install CentOS 7 on Server Master virtual machine
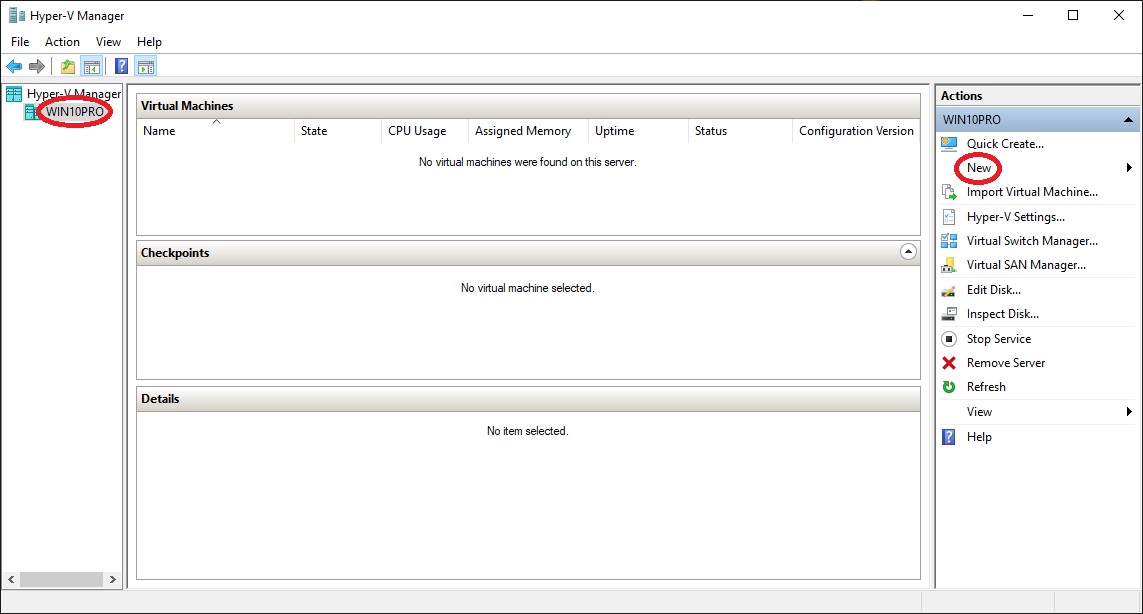
• Open ”Hyper-V Manager” from the start-menu
•
Select your computer name, in my case ”WIN10PRO”
• At "Actions" click "New"
• Click "Virtual Machine..."
•
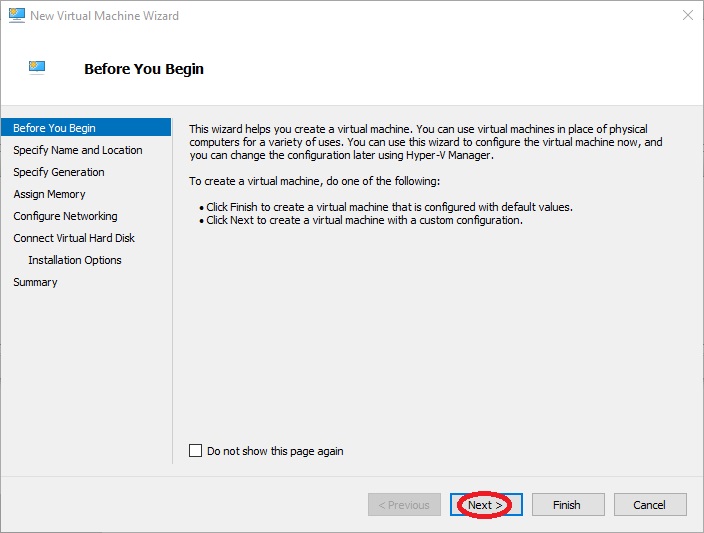
Click "Next >"
•
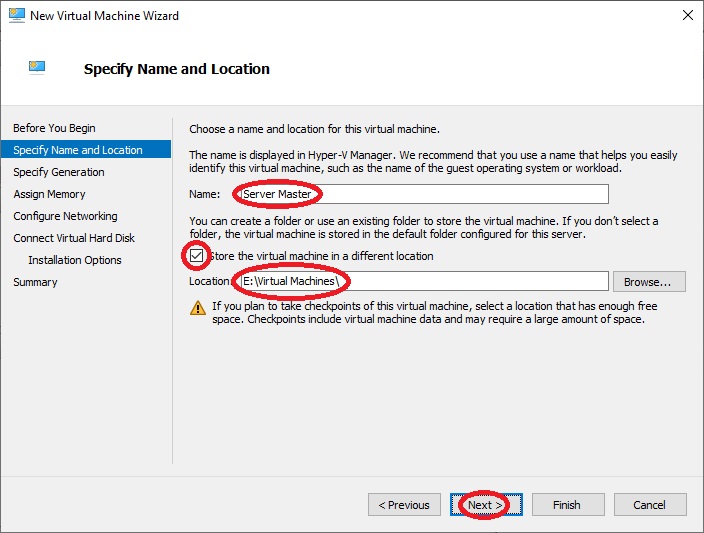
At "Name:" write "Server Master"
• Select "Store the virtual machine in a different location"
• At "Location:" write the path where you want to store your virtual machines, in my case "E:\Virtual Machines" or you can click on "Browse..." to navigate to the folder
• Click "Next >"
•
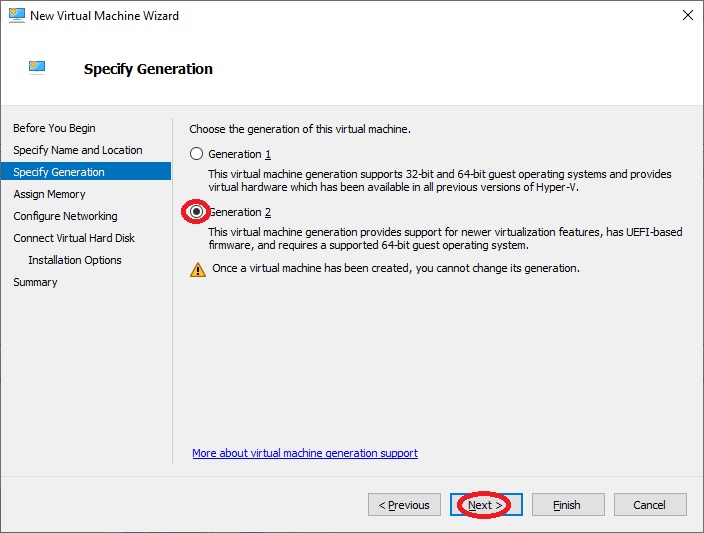
At "Choose the generation of this virtual machine." select
"Generation 2"
• Click "Next >"
•
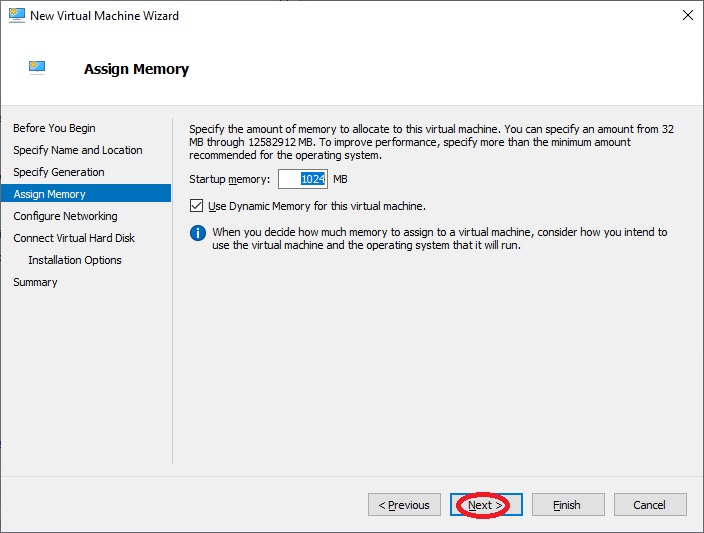
Click "Next >"
•
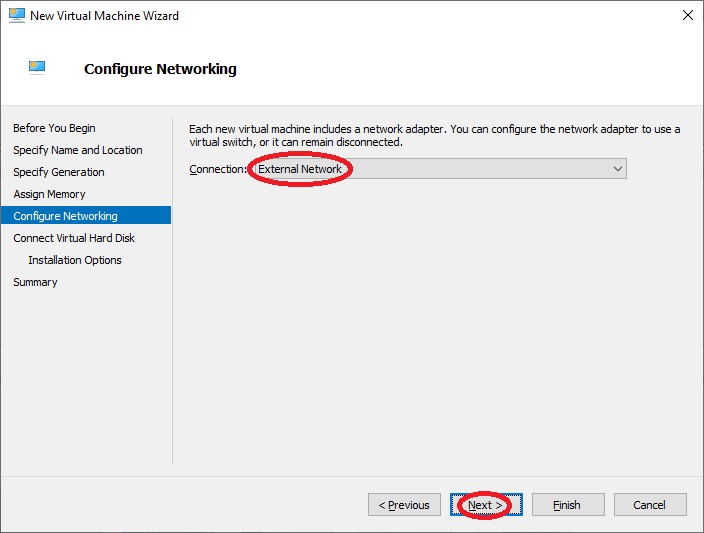
At "Connection:" select "External
Network"
• Click "Next >"
•
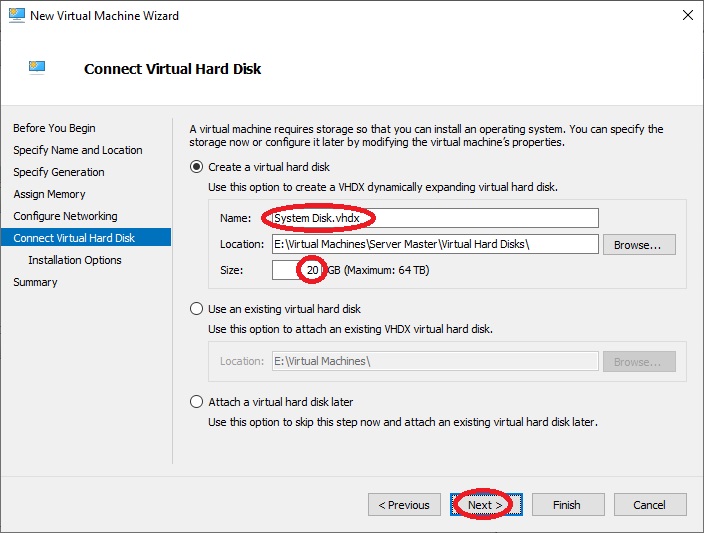
At "Name:" write "System
Drive.vhdx"
• At "Size:" write "20"
• Click "Next >"
•
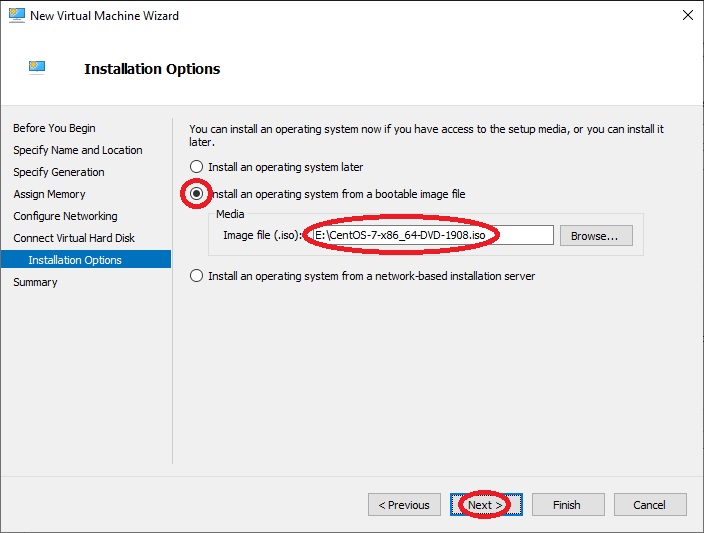
Select "Install an operating system from a bootable image file"
• At "Image file (.iso):" write the path to the CentOS image file that you have downloaded, in my case "E:\CentOS-7-x86_64-DVD-1908.iso" or you can click on "Browse..." to navigate to the image file
• Click "Next >"

•
Click "Finish"
• Return to "Hyper-V Manager"

•
At "Virtual Machines" select "Server
Master"
• At "Actions" click "Settings..."
•
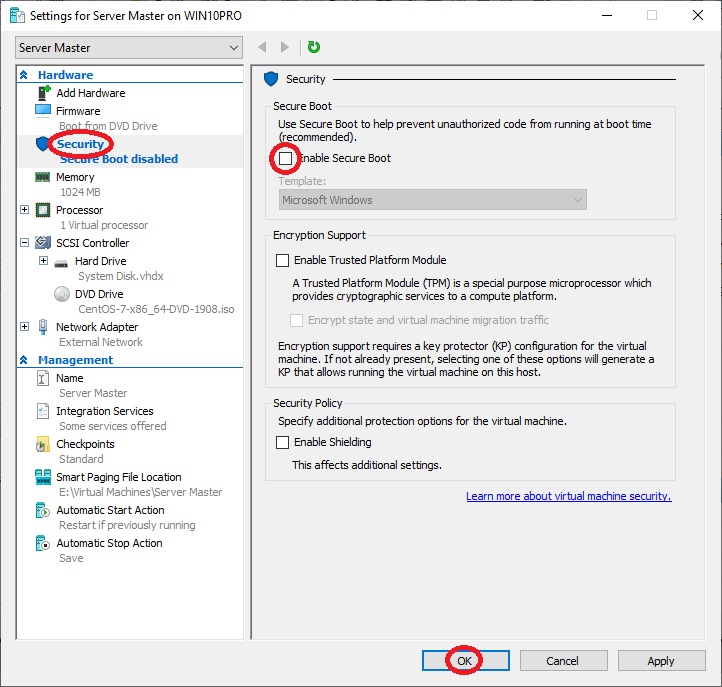
At "Hardware" select "Security"
• At "Secure Boot" unselect "Enable Secure Boot"
• Click "OK"