6.2 Startup DHCP Server virtual machine
6.4 Configure Firewall for SSH access to the DHCP server
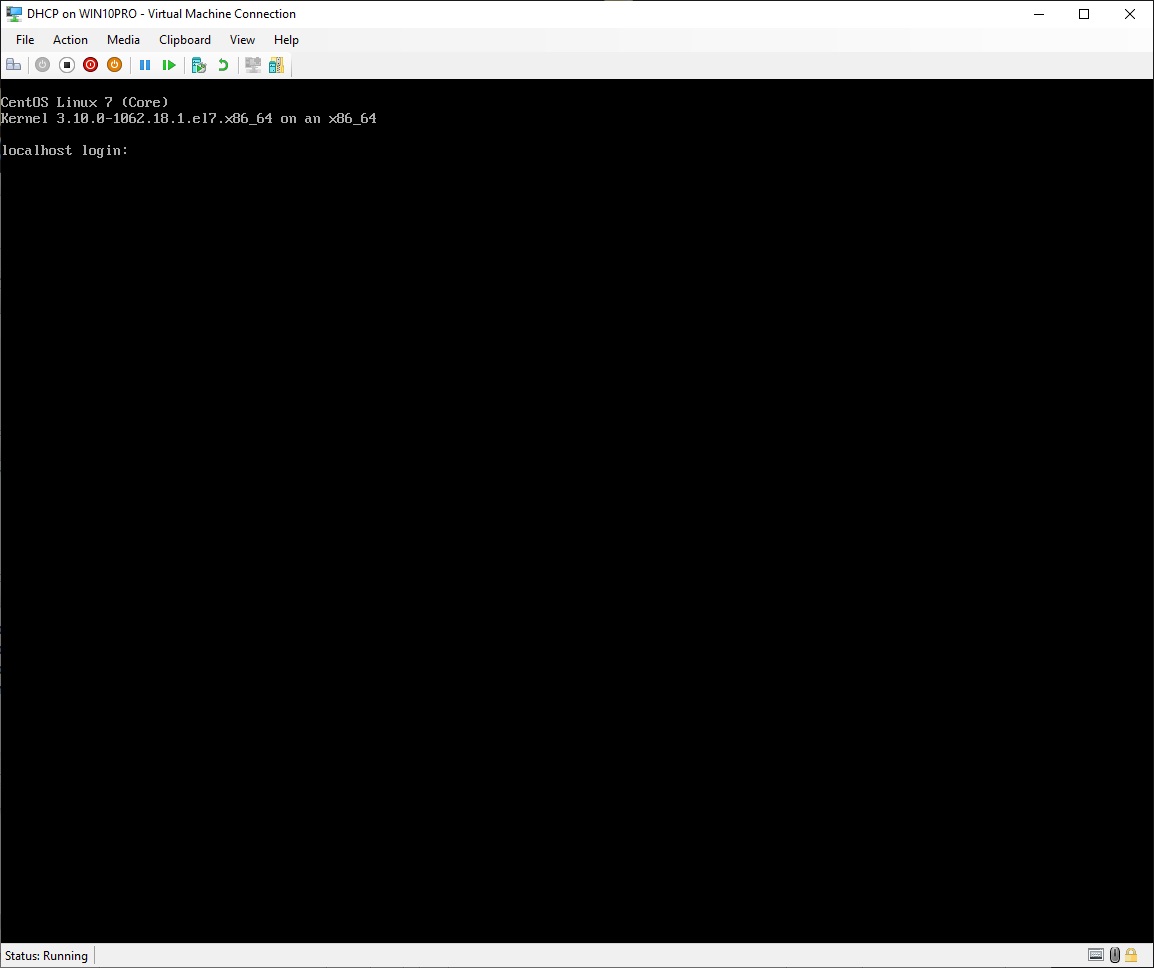
• Startup the "DHCP" virtual machine (see 6.2 Startup DHCP Server virtual machine)
Now you could log in directly in the virtual machine as user root, but connecting through SSH from your host PC, makes it possible to copy and paste text into the console window
• Open "Command Prompt" on your host computer
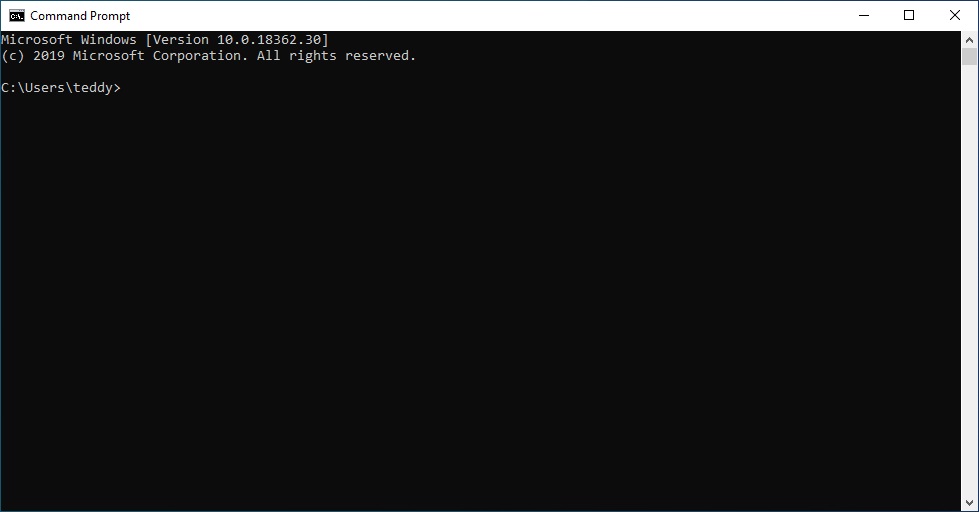
Write what is highlighted in red
Instead of writing "teddy", then write the username you have created on the master virtual machine:
|
C:\Users\teddy>ssh teddy@192.168.0.128 teddy@192.168.0.128's password:write your user's password here |
|
[teddy@localhost ~]$ su Password:write the root password here |
Set the hostname of this machine, but use your own domain name instead of "yddet.dk":
|
[root@localhost teddy]# hostnamectl set-hostname dhcp.yddet.dk |
Install the DHCP service:
|
[root@localhost teddy]# yum install dhcp -y output output output ... Complete! |
Create and edit the DHCP service configuration file:
|
[root@localhost teddy]# cd /etc/dhcp [root@localhost dhcp]# cp /usr/share/doc/dhcp-4.2.5/dhcpd.conf.example dhcpd.conf cp: overwrite 'dhcpd.conf'? yes [root@dhcp dhcp]# vim dhcpd.conf |
To set the domain name and DNS server for all dhcp pools, find these lines and change them like this, but use your own domain name instead of "yddet.dk":
|
option domain-name "yddet.dk"; option domain-name-servers dns.yddet.dk; |
Delete or add a comment mark to the start of all lines after this line, not including this one:
|
log-facility local7; |
To create a pool for the "192.168.1.0/24" network, add these lines to the end of the document, but use your own domain name instead of "yddet.dk":
|
subnet 192.168.1.0 netmask 255.255.255.0 { range 192.168.1.21 192.168.1.120; option routers gateway.yddet.dk; } |
Save the document and quit vim
Enable the DHCP service at system startup:
|
[root@dhcp dhcp]# systemctl enable dhcpd Created symlink from /etc/systemd/system/multi-user.target.wants/dhcpd.service to /usr/lib/systemd/system/dhcpd.service. |
Edit the configuration file for the first Ethernet adapter:
|
[root@dhcp dhcp]# EditNet |
Find these lines and change them to:
|
IPADDR=192.168.1.3 GATEWAY=192.168.1.1 DNS1=192.168.255.2 |
Add this line to the end of the document, but use your own domain name instead of "yddet.dk":
|
DOMAIN=yddet.dk |
Save the document and quit vim
Shutdown the system, and exit "Command Prompt":
|
[root@dhcp dhcp]# shutdown -h now Connection to 192.168.0.128 closed by remote host. Connection to 192.168.0.128 closed.
C:\Users\teddy>exit |
• Return to the "DHCP" virtual machine

•
Click "X"
to close the virtual machine
• Return to "Hyper-V Manager"
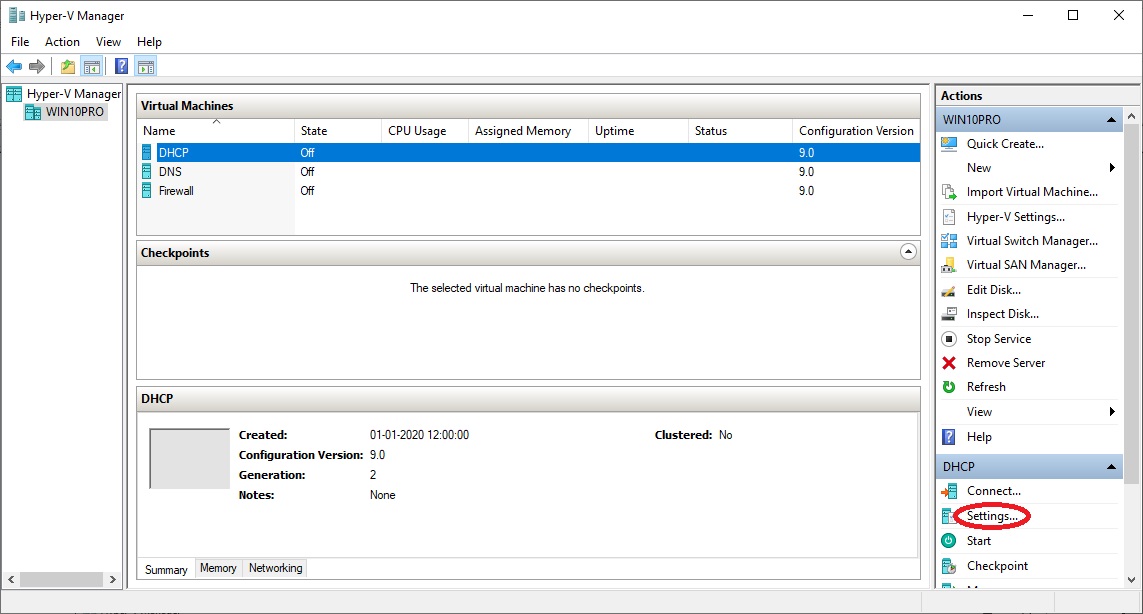
•
At "Actions" click
"Settings..."
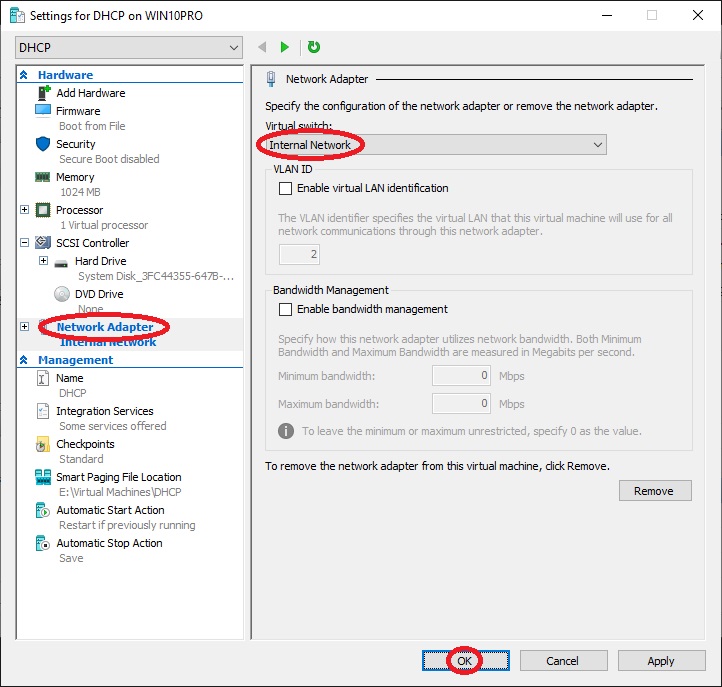
•
At
"Hardware" select "Network
Adapter"
• At "Virtual switch:" select "Internal Network"
• Click "OK"