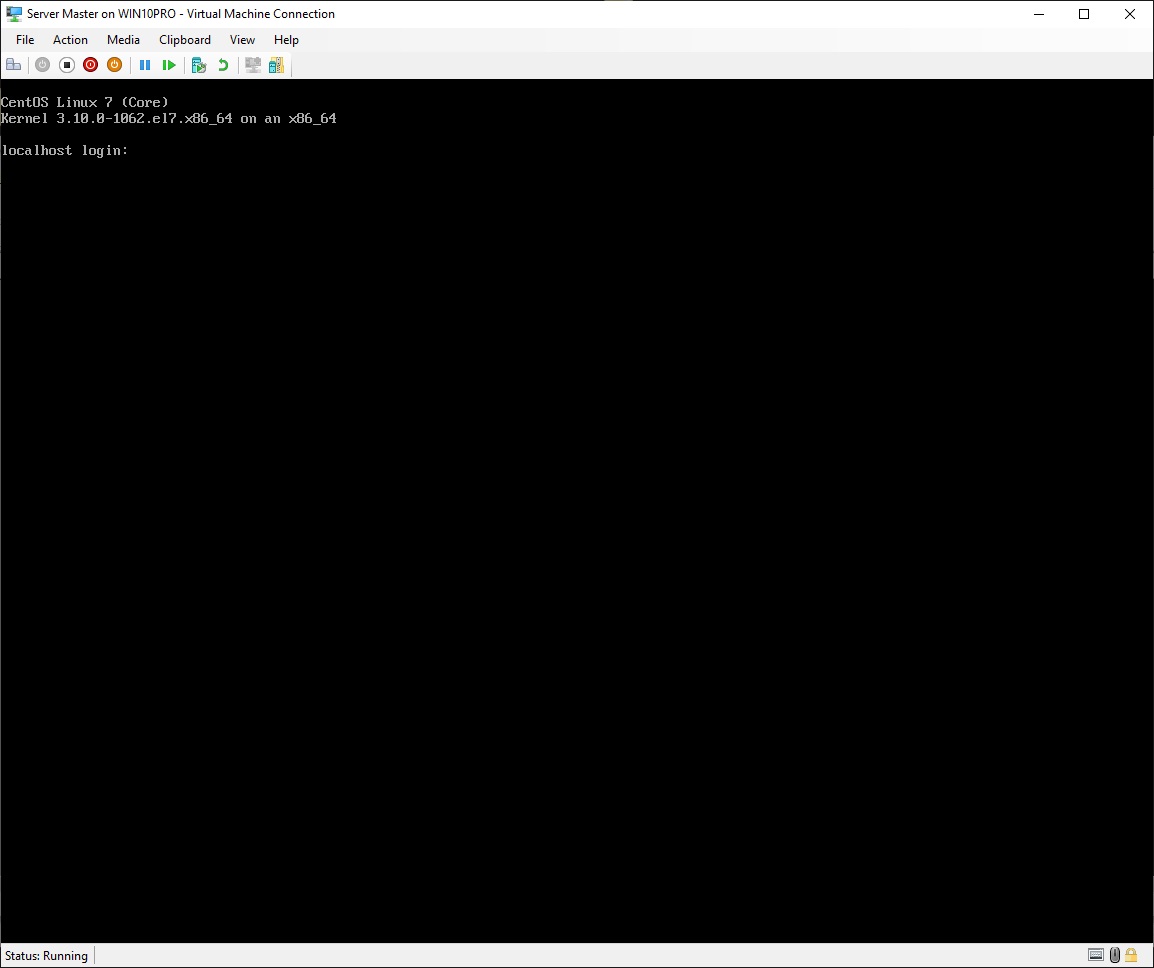
2.3 Startup Server Master virtual machine
2.5 Export Server Master virtual machine
• Startup the "Server Master" virtual machine (see 2.3 Startup Server Master virtual machine)
Now you could log in directly in the virtual machine, but connecting through SSH from your host PC, makes it possible to copy and paste text into the console window
• Open "Command Prompt" on your host computer
Write what is highlighted in red
Log in as user root:
|
C:\Users\teddy>ssh root@192.168.0.128 The authenticity of host '192.168.0.128 (192.168.0.128)' can't be established. ECDSA key fingerprint is SHA256:xxxxxxxxxxxx+xxxxxxxxxxxxxxxxxxxxx/xxxxxxxx. Are you sure you want to continue connecting (yes/no)? yes Warning: Permanently added '192.168.0.128' (ECDSA) to the list of known hosts. root@192.168.0.128's password:write the root password here |
Disable NetworkManager:
|
[root@localhost ~]# systemctl disable --now NetworkManager.service Removed symlink /etc/systemd/system/multi-user.target.wants/NetworkManager.service. Removed symlink /etc/systemd/system/dbus-org.freedesktop.nm-dispatcher.service. Removed symlink /etc/systemd/system/network-online.target.wants/NetworkManager-wait-online.service. |
Disable the firewall daemon:
|
[root@localhost ~]# systemctl disable --now firewalld Removed symlink /etc/systemd/system/multi-user.target.wants/firewalld.service. Removed symlink /etc/systemd/system/dbus-org.fedoraproject.FirewallD1.service. |
Install VIM file-editor:
|
[root@localhost ~]# yum install vim* -y output output output ... Complete! |
Install the nslookup command:
|
[root@localhost ~]# yum install bind-utils -y output output output ... Complete! |
Install the traceroute command:
|
[root@localhost ~]# yum install traceroute -y output output output ... Complete! |
Edit .bashrc which specifies user aliases and functions:
|
[root@localhost ~]# vim .bashrc |
To add an alias for easy editing of the configuration file for the first ethernet adapter, add the lines highlighted in red:
|
alias rm='rm -i' alias cp='cp -i' alias mv='mv -i' # shortcut for editing the configuration file for the first ethernet adapter alias EditNet='vim /etc/sysconfig/network-scripts/ifcfg-eth0' |
Save the document and quit vim
You could log out, and log in again, to make the newly created alias work, but for now just write this line, to edit the configuration file for the first ethernet adapter:
|
[root@localhost ~]# vim /etc/sysconfig/network-scripts/ifcfg-eth0 |
To ensure that next time this file is viewed in vim, the text will be colored, add this line as first line in the document:
|
#! /bin/bash |
To avoid duplicate UUID's, find a line like this and add a comment mark to its beginning:
|
# UUID="40bcbc4-0d59-4cdc-8e6c-0dd1c89c3b55" |
Save the document and quit vim
Create a user of your own choice, I choose "teddy":
|
[root@localhost ~]# useradd teddy [root@localhost ~]# passwd teddy Changing password for user teddy. New password:write a strong password of your choice Retype new password:rewrite the password you just wrote above passwd: all authentication tokens updated successfully. |
Create a directory for backup of configuration files etc.:
|
[root@localhost ~]# mkdir /backup |
Make a copy of the selinux configuration file, and then edit the original file:
|
[root@localhost ~]# cp /etc/selinux/config /backup/selinux.conf [root@localhost ~]# vim /etc/selinux/config |
To disable selinus, find this line and change what is highlighed in red:
|
SELINUX=disabled |
Save the document and quit vim
Make a copy of the ssh daemon configuration file, and then edit the original file:
|
[root@localhost ~]# cp /etc/ssh/sshd_config /backup [root@localhost ~]# vim /etc/ssh/sshd_config |
For security reasons, disallow the root user logging in by ssh, find this line and remove the comment mark and change what is highlighted in red:
|
PermitRootLogin no |
To allow a user to log in by ssh, add these lines to the end of the document, but use the name of the user you have created yourself, I use "teddy":
|
# Limit user access AllowUsers teddy |
Save the document and quit vim
Create a group of your own choice, I choose "administrators" and add your user to the group, my user is "teddy":
|
[root@localhost ~]# groupadd administrators [root@localhost ~]# usermod -a -G administrators teddy |
Edit the sudo configuration file:
|
[root@localhost ~]# visudo |
To give a group sudo rights, add these lines to the end of the document, but use the name of the group you have created, I use "administrators":
|
## User privilege specification %administrators ALL=(ALL) ALL |
Save the document and quit visudo
Update the system:
|
[root@localhost ~]# yum update -y output output output ... Complete! |
Shutdown the system, and exit "Command Prompt":
|
[root@localhost ~]# shutdown –h now Connection to 192.168.0.128 closed by remote host. Connection to 192.168.0.128 closed.
C:\Users\teddy>exit |
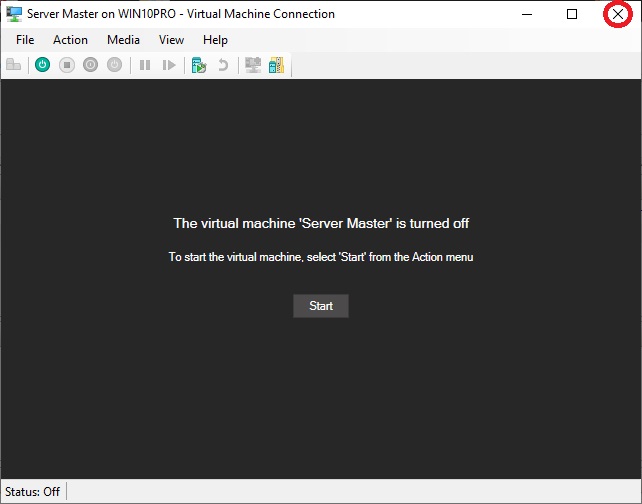
• Return to the "Server Master" virtual machine
•
Click "X" to close the
virtual machine